Blog
LeafyWings Technology create innovative custom software solutions that keep up with the latest developments in the technology industry.

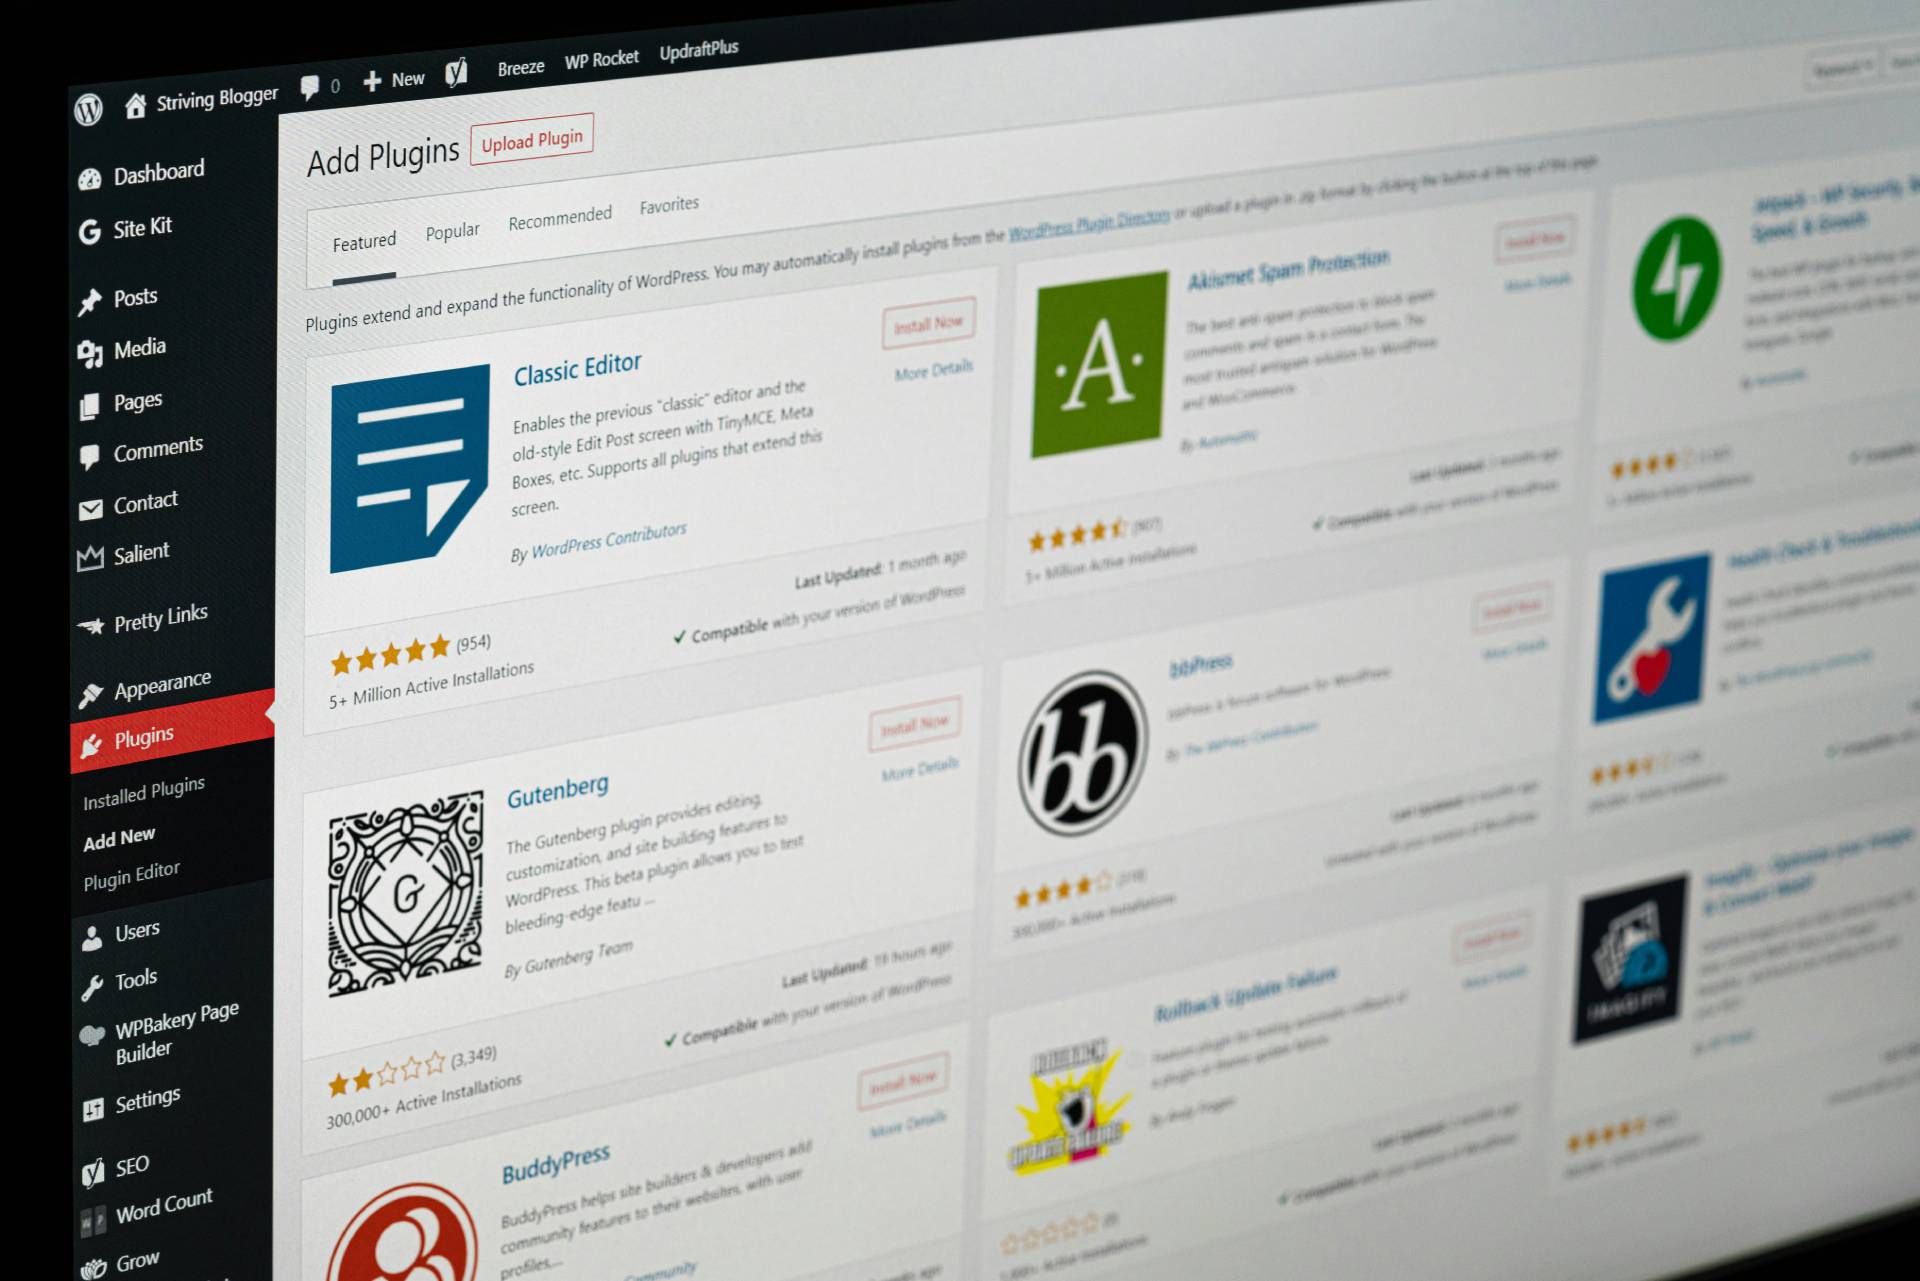
How to Create a Multisite Network WordPress Theme for 2024: A Beginner's Guide

Creating a multisite network WordPress theme can seem daunting, especially for beginners. However, with the right guidance, you can efficiently create a theme that works seamlessly across a network of sites. In this post, we’ll walk you through the process step-by-step. Leafywings Technology is here to help you navigate the complexities and create a powerful multisite network WordPress theme for 2024.
What is a Multisite Network?
A multisite network allows you to manage multiple WordPress sites from a single WordPress installation. This is particularly useful for businesses, educational institutions, or any entity that needs to manage multiple sites under one umbrella.
Why Create a Multisite Network Theme?
Centralized Management: Manage themes, plugins, and users from a single dashboard.
Consistency: Ensure a uniform look and feel across all sites in the network.
Efficiency: Save time by updating themes and plugins once for all sites.
Step-by-Step Guide to Creating a Multisite Network Theme
1. Set Up Your WordPress Multisite Network
Step 1: Install WordPress Start with a fresh WordPress installation. You can download the latest version from WordPress.org.
Step 2: Enable Multisite Feature To enable the multisite feature, open your wp-config.php file and add the following line above the /* That’s all, stop editing! Happy publishing. */ line:
define('WP_ALLOW_MULTISITE', true);
Save and upload the file back to your server.
Step 3: Network Setup After enabling multisite, log in to your WordPress admin dashboard and navigate to Tools > Network Setup. Choose your desired configuration (sub-domains or sub-directories), and click “Install”.
Step 4: Update Configuration Files Follow the on-screen instructions to add code snippets to your wp-config.php and .htaccess files.
2. Create a Custom WordPress Theme
Step 1: Set Up Theme Folder In your WordPress installation directory, navigate to wp-content/themes/ and create a new folder for your theme, e.g., leafywings-multisite-theme.
Step 2: Create Basic Theme Files Inside your theme folder, create the following files:
- style.css
- index.php
- functions.php
Step 3: Add Theme Header to style.css
/*
Theme Name: LeafyWings Multisite Theme
Theme URI: https://www.leafywings.com
Author: Leafywings Technology
Author URI: https://www.leafywings.com
Description: A custom WordPress theme for multisite networks.
Version: 1.0
*/
Step 4: Add Basic Theme Structure
In index.php, add a simple HTML structure:
<!DOCTYPE html>
<html <?php language_attributes(); ?>>
<head>
<meta charset="<?php bloginfo('charset'); ?>">
<meta name="viewport" content="width=device-width, initial-scale=1">
<link rel="stylesheet" href="<?php bloginfo('stylesheet_url'); ?>">
<?php wp_head(); ?>
</head>
<body <?php body_class(); ?>>
<header>
<h1><?php bloginfo('name'); ?></h1>
<nav><?php wp_nav_menu(array('theme_location' => 'primary')); ?></nav>
</header>
<div id="content">
<?php if(have_posts()) : while(have_posts()) : the_post(); ?>
<article <?php post_class(); ?>>
<h2><?php the_title(); ?></h2>
<?php the_content(); ?>
</article>
<?php endwhile; endif; ?>
</div>
<footer>
<p>© 2024 LeafyWings Technology. All rights reserved.</p>
</footer>
<?php wp_footer(); ?>
</body>
</html>
Step 5: Add Functions and Features
In functions.php, register menus, enqueue styles, and add theme support features:
<?php
function leafywings_theme_setup() {
    // Theme support
    add_theme_support('automatic-feed-links');
    add_theme_support('title-tag');
    add_theme_support('post-thumbnails');
    add_theme_support('html5', array('search-form', 'comment-form', 'comment-list', 'gallery', 'caption'));

    // Register menus
    register_nav_menus(array(
        'primary' => __('Primary Menu', 'leafywings'),
    ));
}
add_action('after_setup_theme', 'leafywings_theme_setup');

function leafywings_enqueue_styles() {
    wp_enqueue_style('leafywings-style', get_stylesheet_uri());
}
add_action('wp_enqueue_scripts', 'leafywings_enqueue_styles');
?>
3. Customize and Extend Your Theme
Once you have the basic structure in place, you can customize your theme further:
- Templates: Create custom templates for different page types (e.g., home.php, page.php, single.php).
- Widgets: Add widget areas to your theme using register_sidebar() function.
- Options: Provide theme customization options using the WordPress Customizer API.
4. Network Activate Your Theme
After completing your theme, you need to network activate it:
- Go to your WordPress network admin dashboard.
- Navigate to Themes.
- Find your theme and click "Network Activate".
SEO Best Practices for Your Multisite Theme
To ensure your multisite network ranks well in search engines, follow these SEO best practices:
- Responsive Design: Ensure your theme is mobile-friendly.
- Performance Optimization: Optimize your theme for speed by minimizing CSS and JavaScript files.
- Clean Code: Write clean, semantic HTML code.
- SEO Plugins: Use SEO plugins like Yoast SEO to manage on-site SEO.
- Keyword Optimization: Include relevant keywords in your content.
Conclusion
Creating a multisite network WordPress theme might seem complex, but by following these steps, you can build a theme that meets your needs. Leafywings Technology is dedicated to helping beginners and professionals alike create powerful, flexible, and SEO-friendly WordPress themes. If you have any questions or need further assistance, feel free to reach out to us. Happy theming!
Blog Categories
Recent Posts
-
How to Create a WordPress Theme for 2024 : A Beginners...
March 02, 2025 -

Understanding CSS Positions: A Guide for Beginners in 2...
March 02, 2025